

Tuna Auction at Tsukiji Market
1. Check their website to verify if the market is open on the day you're planning to visit: http://www.tsukiji-market.or.jp/tukiji_e.htm.
2. Get there early. They only allow a total of 120 visitors per day to witness the Tuna Auction. First batch is at 5:50am to 6:05am slot. Second batch is from 6:05am to 6:20am.
We arrived at the registration area at around 3:15am. We were assigned to the second batch of tourists. The first 60 slots were already filled up. We were given with a blue vest to wear and was offered to sit on the floor (first group are in green vests). Yes, be prepared to sit on the floor for long hours as you wait for the tour to start. 10 or 15mins after we arrived, we heard them say that there are only 16 slots left. I wonder what time did the first person or group of tourists arrived that morning. 2am probably?

Waiting area for the Tuna Auction
4. Do not use selfie sticks! When taking photos, be aware of your surroundings. Don't just stop anywhere just because you wanted to take a photo.
5. After the Tuna Auction, feel free to explore the outer market.
After the Tuna Auction, we were clueless as to where to go next. We just know that we would like to try the food in the outer market area. We followed the other tourists until we encountered a long queue of people. When I asked what it was for, I was told that they're lining up for Sushi Dai.


Sushi Dai

Inside Sushi Dai.
Here are the other food that you have to try at Tsukiji:

Grilled Tuna, Uni, Crab Legs


Matcha Soft Serve Ice Cream

Crab Fat

Fresh Uni
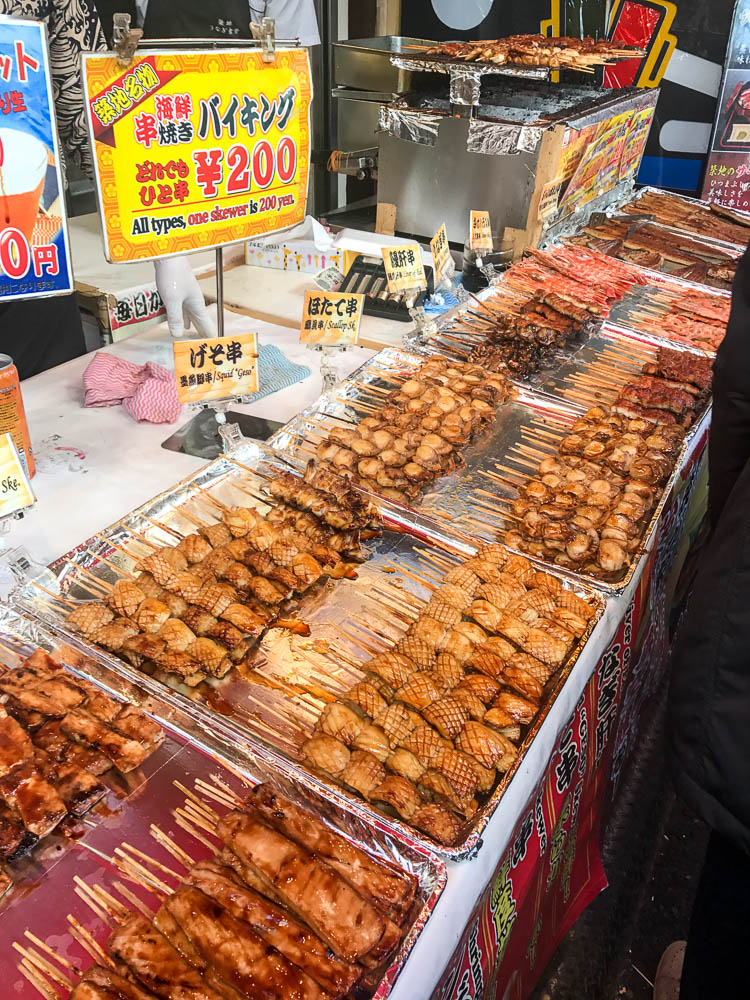
Squid, Salmon Belly

Wagyu beef on stick
